Posts

Showing posts with the label myWorks

20220612 NOT Crowd, But Points Steering

Image
  This is NOT a crowd simulation. Merely a Houdini practice in steering points around with no collision avoidance, speed variation, or feet-sliding checks whatsoever. Yet somehow it is intriguing to watch after I've set it up ;) I'll post updates if I decide to improve it.

My Attempt at the Matrix Code Falling Effect

Image
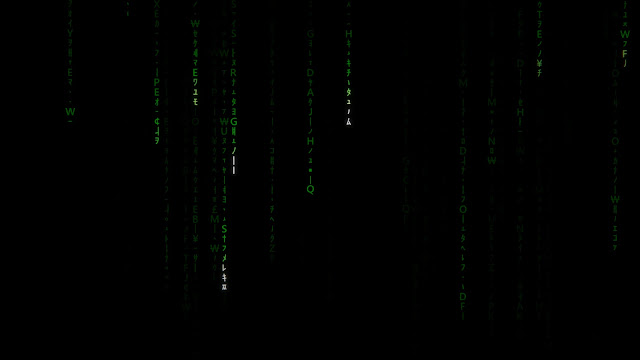
Here is my take on the Falling Code effect in the style of The Matrix. I am 23 years late to the game. If you asked me a year before if I would be able to achieve this effect, I wouldn't believe I would be able to achieve this without looking up a tutorial, even when I was already using Houdini for a good number of years. But I can now say I am able to achieve a decent set-up with some way to control various aspects of the effect, all on my own :)

Houdini Pyro Colour Advection

Image
I've always wanted to do this! Advecting swirling colours in Houdini used to require quite a bit of preparation constructing the volumes, but not any more with the volumeRasterizeAttributes that can create volumes from mixed data types (float, vec3, etc).  This is a viewport flipbook, not rendered For some reason, I find myself watching the yellows and greens every time.

This Blog is Listed Top 60 VFX Websites to Follow in 2021

Image
One of my students who widely crawls the Internet ( Shivam Upadhyay , that's you!) pointed me to this website:  https://blog.feedspot.com/vfx_blogs/ Written on Oct 17 2021, this article lists my blog as 44th of the top 60 websites to follow in 2021.  I am super honoured to be listed together with the top personalities online such as Allan McKay, VFX Soldier, cmiVFX, Andrew Kramer of Video Copilot, etc. This pleasant surprise serves to motivate me and to keep my passion alive. Thank you for reading my articles and following this blog for the years I've been writing.  Here's to many more years of writing, learning and sharing! Update 07 Nov 2021: The volatility of the ranking shocked me. According to that same page, my blog is now ranked 29th on the same page! It is a pleasant surprise, and I am dead certain it has nothing to do with my popularity or publicity skills. The ranking exceeds pages of wildly popular names like The Gnomon Workshop, Video Copilot and Houdini Video...

Houdini Ocean Spectrum on Toy

Image
Houdini Ocean Spectrum on Toy from Patrick Woo on Vimeo . Watch this on YouTube too! Here's my latest test in Houdini. In this test, I manage to apply Houdini's Ocean Spectrum a non-planar shape. The ocean spectrum in Houdini allows the artist to define parameters that describe an open-ocean surface. With these settings, Houdini can generate a very natural-looking ocean surface without the expensive simulation time (this is much like how Houdini's Heightfield is implemented). Since this tool was meant for an open ocean surface, it mainly works with a flat grid by adding displacement to it. If we plug a non-planar object to evaluate this spectrum with the OceanEvaluate SOP, it results in a streaking projection downwards in the Y-axis. Also, the faces that face towards negative Y will get an inverted displacement pattern of that ocean spectrum. In this test, I derive a set-up that overcomes the planar nature of the projection and the negative pattern caused by the same pr...

Houdini Boxes Rolling Set-up

Image
  This is a Houdini implementation of my previous Maya Boxes Rolling Rig . In this set-up, I also switched in a Rubber Toy to see how it would look. The path of travel was created with a Solver SOP that advances the position with a noise animated over time. Another Solver SOP handles the rotation of the box/rubber-toy, and driven by the accumulated distance travelled.

Rolling Boxes Set-up in Maya

Image
Maya Boxes Rolling Rig from Patrick Woo on Vimeo . Here's my latest crazy experiment in 3D! The principles and techniques behind this deceptively simple-looking rig took years to click together for me. This is more so from the perspective of optimisation and simplicity of the implemented solution in my mind. The paths of the boxes are pre-animated via a path constraint. But I make sure the boxes are pivoting with their corners planted on the ground, that they are not sliding.  Students who have attended my rigging classes will understand the tedious process of manually rigging a "rolling cube" by unfolding it from corner pivots. The main technique used here is very different. It treats the box more like a rolling wheel than a pivoting box. I may create a tutorial for this in the coming months.

Houdini Cubes Icosahedron Formation

Image
Watch this on YouTube  and Vimeo . Here's my latest test: directable and procedural cubes transiting from a shape to another in Houdini. It is mainly a VEX-driven set-up. This is part of a research effort to determine the viability of an idea for my student's project. Before I began I was wondering if I was able to achieve this at all. Even though it is not perfect in its present form, I am quite happy with the result and confident that I can help to guide the student in her efforts. #houdini​ #vex​ #motiondesign​ #procedural

When Darkness Stares Back Rock Eye

Image
This piece is based on the still image I created for my track "When Darkness Stares Back": soundcloud.com/patrickwoo/patrick-woo-when-darkness-stares-back  Here I used a video to displace vertices. In the finished version I also added further rock maps displacement, shader tweaks, tracked light sources, re-timing of footage and render, and further compositing processes to augment my renders.

Houdini Assembly Per Piece Animation for Reel Breakdown

Image
  Houdini Assembly Per-Piece Animation for Reel Breakdowns from Patrick Woo on Vimeo . This is my attempt at recreating the effect of pieces assembling themselves in a VFX reel breakdown. In the drop-down version. The points were sorted along the X-axis. Further, using an ExplodedView SOP, I can sort the pieces by the distance which each piece get exploded from the centre. With that sorting order, I am able to achieve the re-assembly style of "Centre Out", and "Outside In". The core is done mainly in a point wrangle node. As shown in the beginning, I have controls for start frame, interval (in frames) between each piece and animation duration for each dropping piece. There is also a ramp to control the speed of each piece as they approach their final position. Rifle asset is modelled by Matija Å vaco and downloaded from  sketchfab.com/3d-models/sci-fi-sniper-rifle-free-2d1bef3aa9ae47c5aee26cc3f032ab31

Maya Python tool: CopyPasteCurvePoints

Image
Here is a tool I wrote a while back. It grabs the points from a source curve and copies the position of those points to a new curve, or an existing target curve. The points receiving the pasted positions can be configured to start from any index on the target curve.

Durian Animation

Image
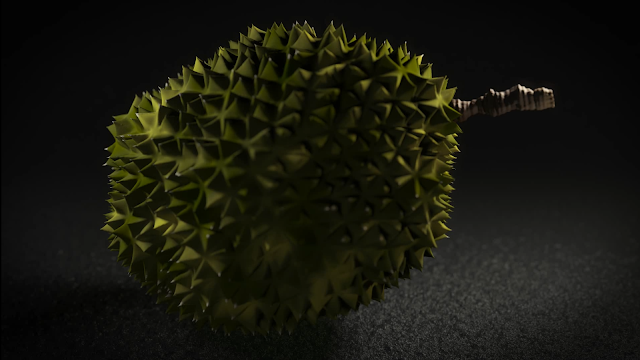
Houdini Procedural Durian Animation from Patrick Woo on Vimeo . Here is a rendered durian animation. The procedural model was originally static, built for my students' class assignment, I went to animate, light and render it. Rendered in Houdini Mantra.

My Works: TV Commercial

Image
Here's a TV commercial I was involved in last year, while at VHQ. This TV commercial was for JD.com. Almost the whole of the TV Commercial team and Film team were involved. I helped in look-development of Cyborg, especially in texturing, shader creation and lighting the asset. I was also involved in tweaking textures and shaders for Aquaman's asset. Also, I helped in the texturing, shader and look-development of the swordfish and the car that got crashed. For texturing, I used Mari. Rendering was done with Arnold in Maya.

Maya UI Layout Example

Image
In reply to another StackOverflow question , I wrote 2 blocks of code that shows 2 UI layouts created with Maya's UI framework. First one looks like this: This is the code that created this first one. import maya . cmds as mc def buildUI (): winName = 'myWindow' winWidth = 200 # set a target width and reference this when you specify width if mc . window ( winName , exists = True ): mc . deleteUI ( winName ) mc . window ( winName , width = winWidth , title = 'Test Window' ) # i always have keep a reference to the main columnLayout mainCL = mc . columnLayout () mc . text ( label = 'text row 1' ) # tmpRowWidth controls the width of my columns in the rowLayout # with reference to winWidth tmpRowWidth = [ winWidth * 0.3 , winWidth * 0.7 ] mc . rowLayout ( numberOfColumns = 2 , columnWidth2 = tmpRowWidth ) # at this point our UI pointer is under the rowLayout mc . text ( label = 'row colu...